---
title: Add “Unsubscribe” button
description: "This page will show you how to add an “Unsubscribe” button to your campaign using both the campaign builder (from scratch) and the HTML editor ## Follow these easy steps ### For campaign builder: #### Step 1: Go to…"
url: "https://www.inboxroad.com/help/add-unsubscribe-button/"
updated: "2025-09-19"
category: Email deliverability
---
# Add “Unsubscribe” button
This page will show you how to add an “Unsubscribe” button to your campaign using both the campaign builder (from scratch) and the HTML editor
## Follow these easy steps
### For campaign builder:
#### Step 1: Go to Inboxroad and create a campaign from scratch
Start by [**logging in to your Inboxroad account**](https://app.inboxroad.com/login). This can be done by visiting the Inboxroad website and entering your login credentials.
### Step 2: Create a campaign and add “Unsubscribe“ text
Here will be your unsubscribe button

#### Step 3: Click on “Merge Tags”
“Merge tags” will add personalized capabilities to your future button

#### Step 4: Click on “Unsubscribe link”

#### Step 5: Click on “{{unsubscribe_link}}” and cut it to your clipboard
To cut the selected text to your clipboard you can use these combinations:
***Windows & Linux**: select the text and press Ctrl + X****macOS**: select the text and press Command (⌘) + X**Or you can select the text and right-click on the mouse and choose “Cut”*

#### Step 6: Click on “Unsubscribe” and select the text

#### Step 7: Click on “Link” icon

#### Step 8: Click on “URL” input field

#### Step 9: Paste “{{unsubscribe_link}}“ and click on “Save”

#### Step 10: All done! Now your “Unsubscribe“ button is active and ready to be used

### For HTML editor:
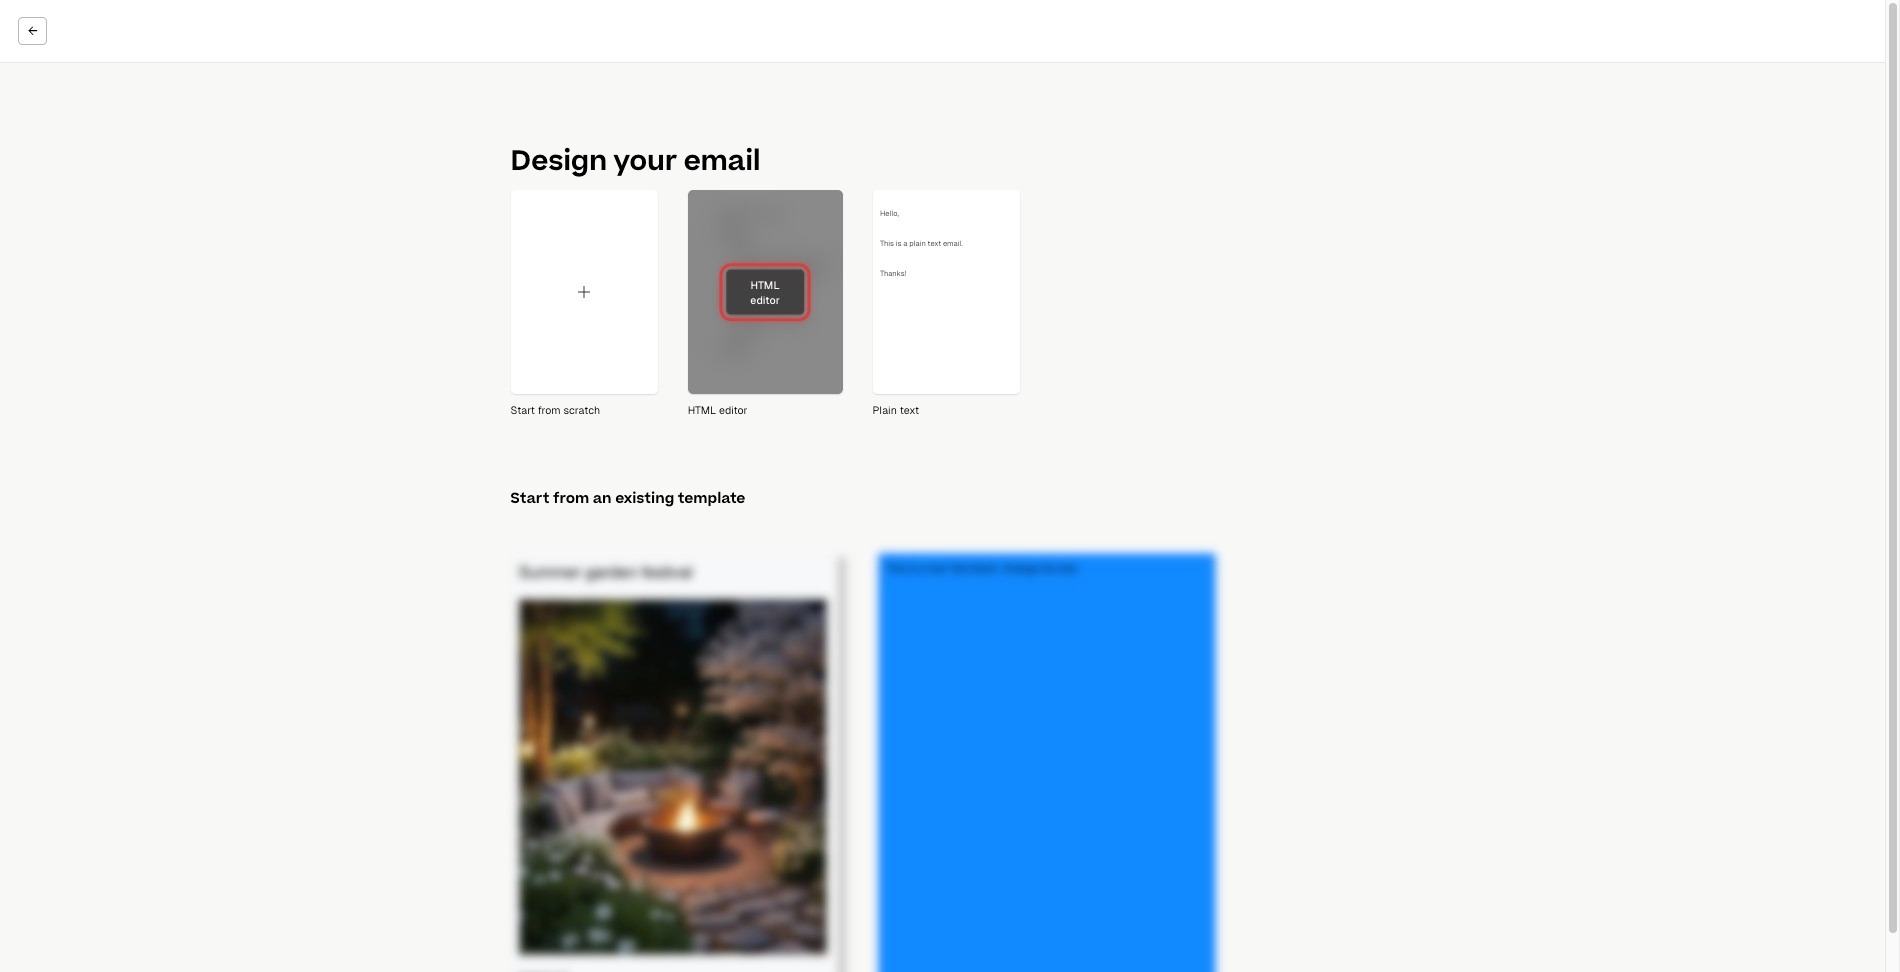
### Step 1: Click on “HTML editor” to create a new campaign
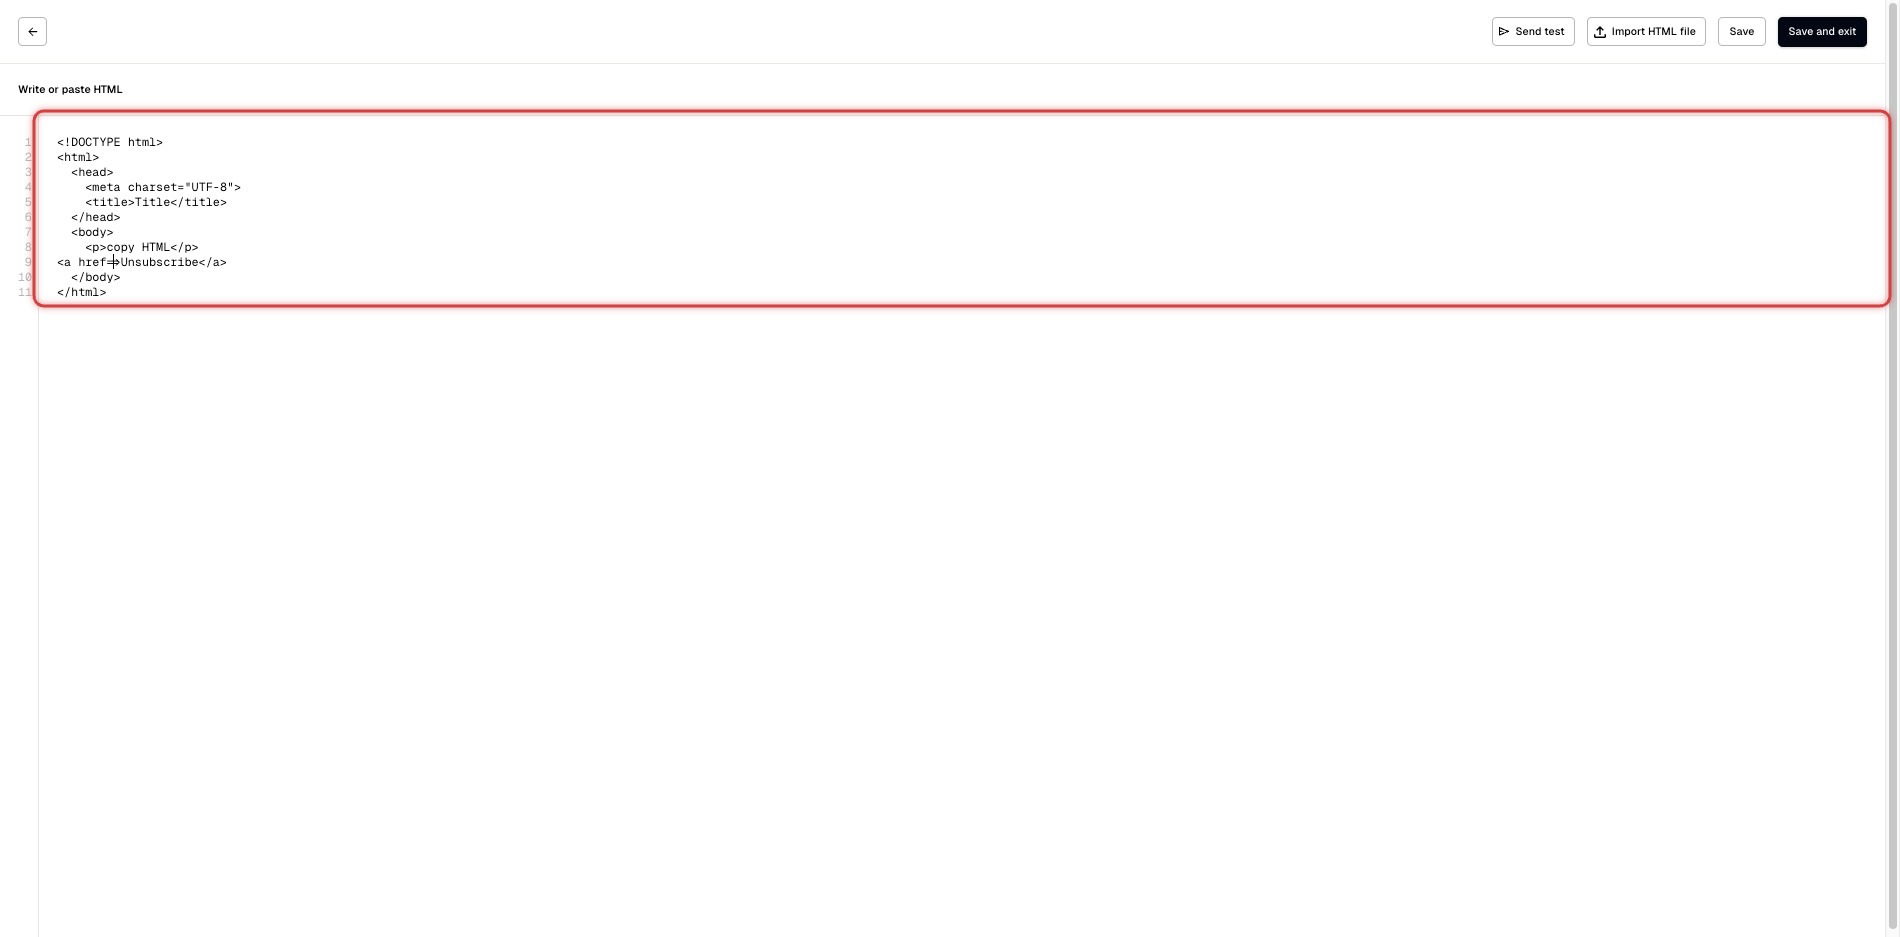
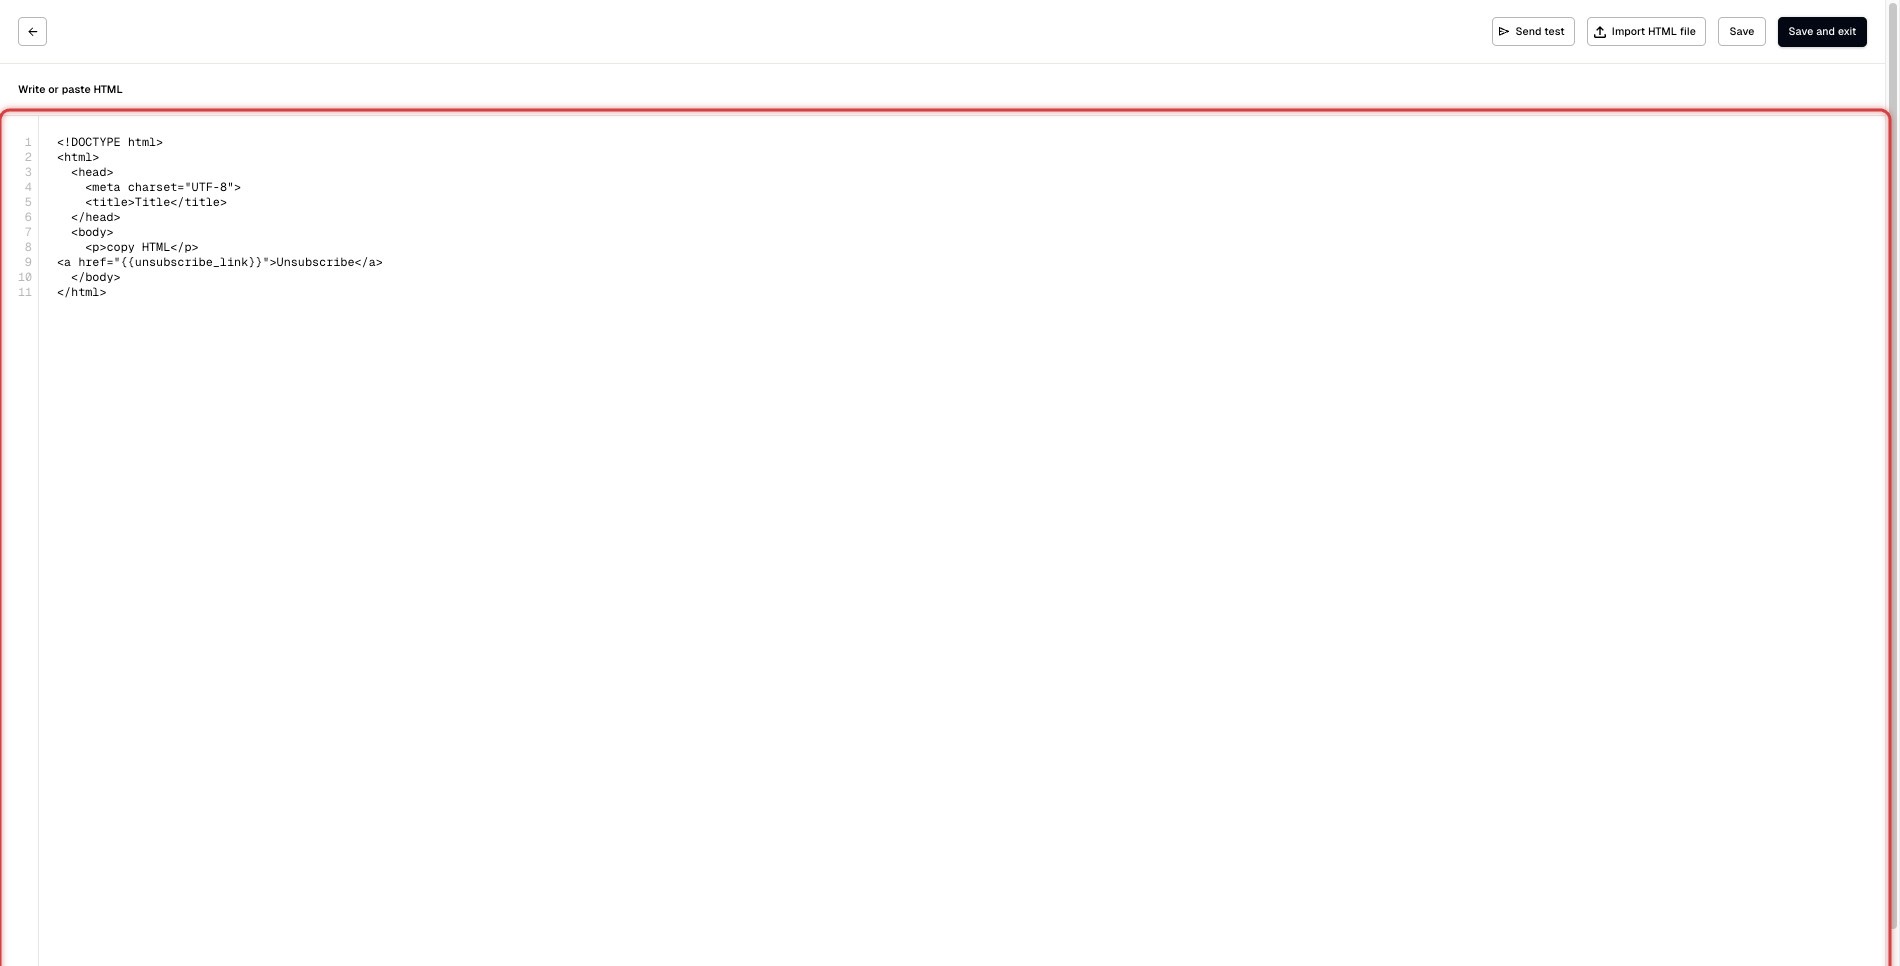
## Step 2: Write your future button
The text should look like this: *Unsubscribe*
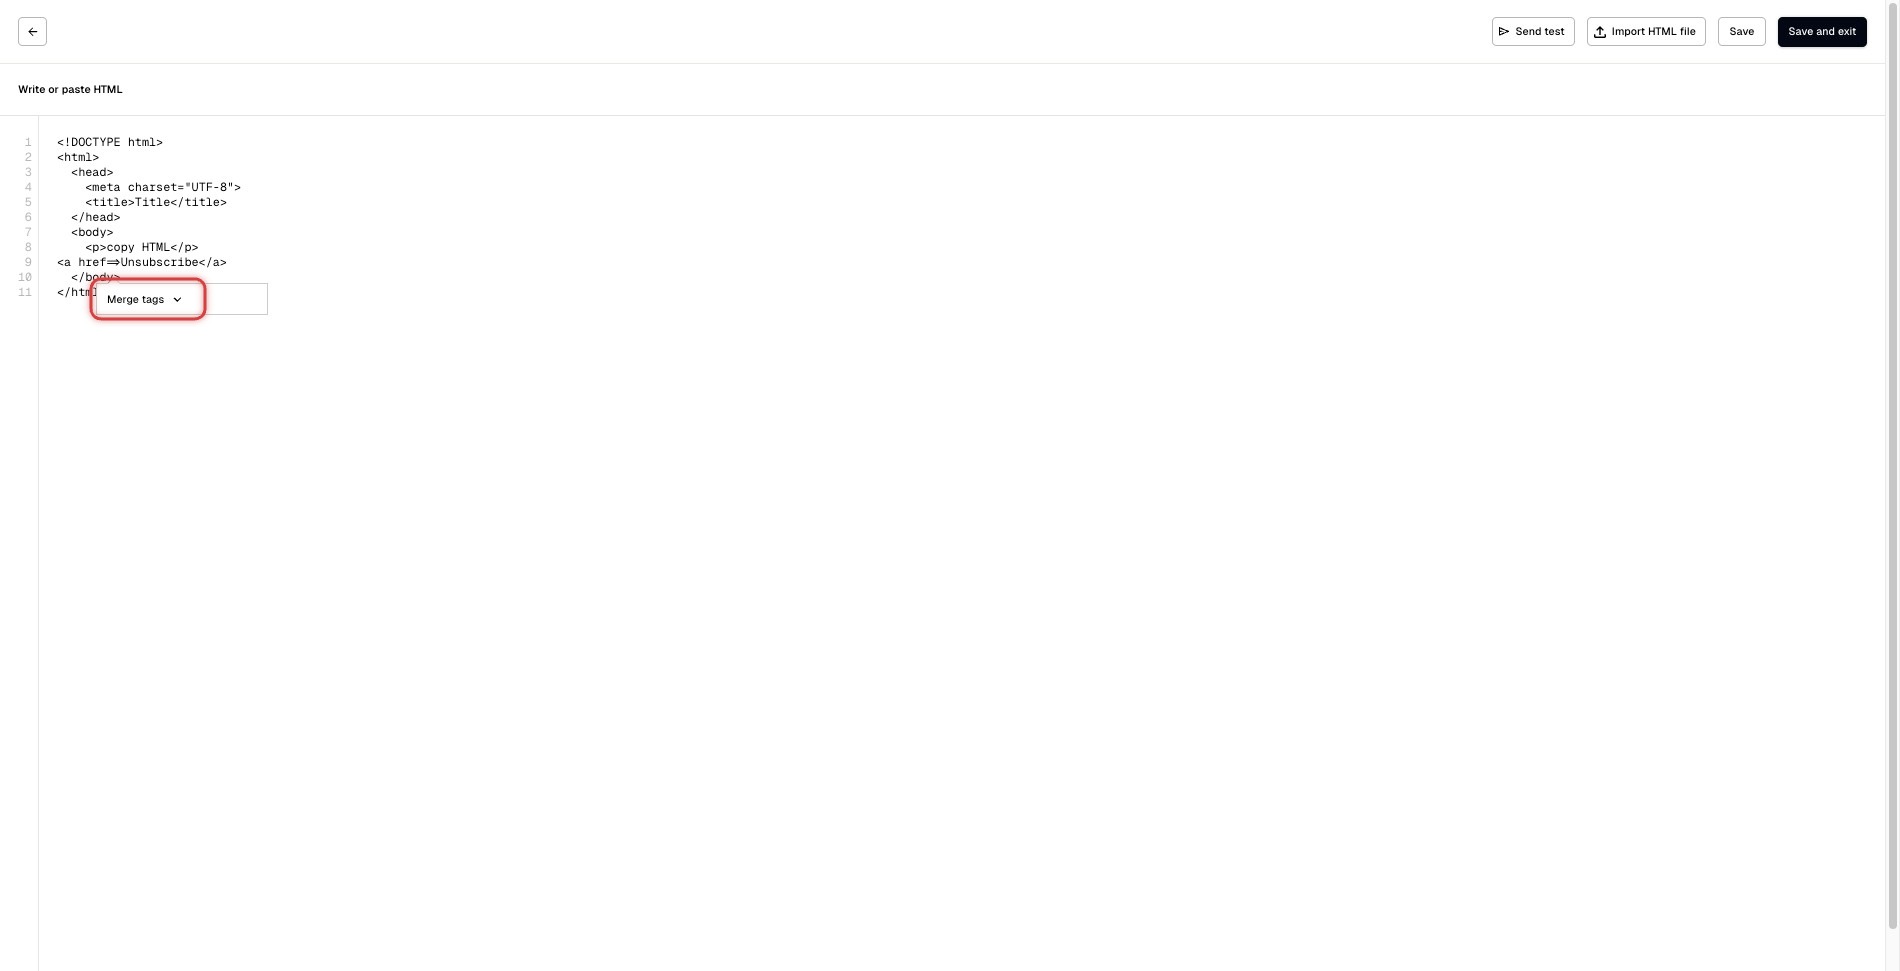
## Step 3: Click on the space between quotation marks and click on “Merge tags”
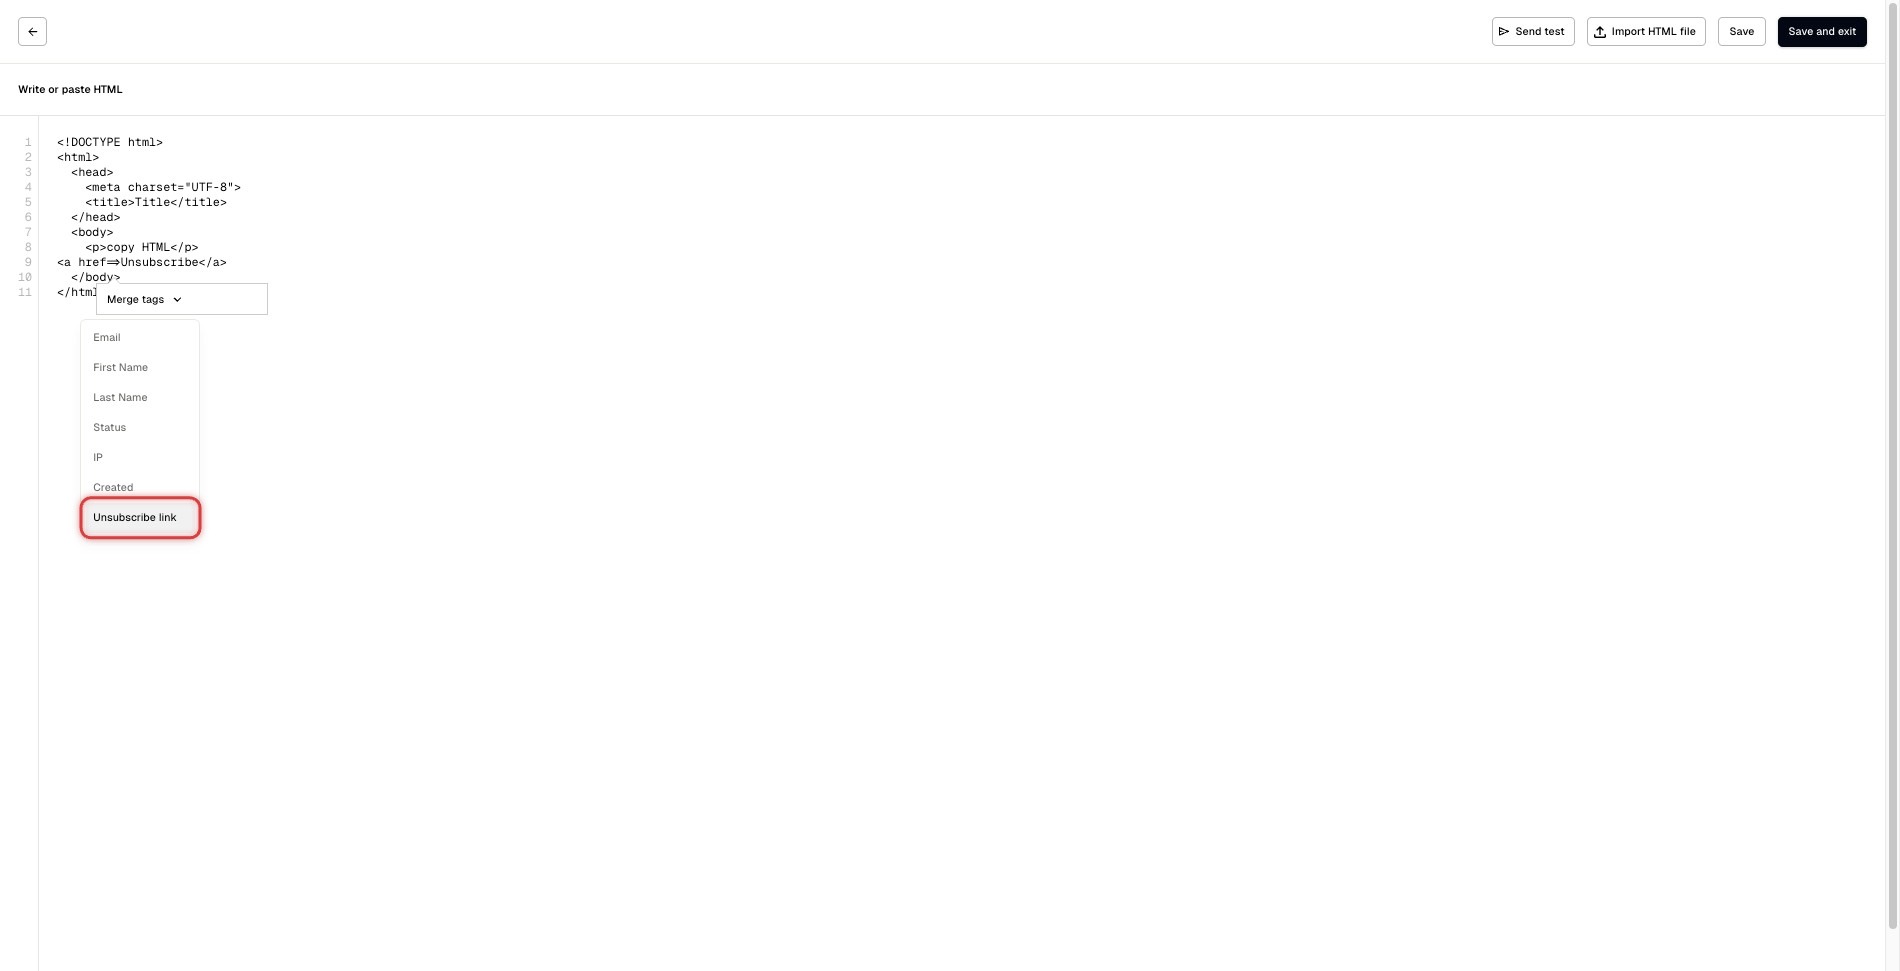
### Step 4: Choose “Unsubscribe link” from the dropdown menu
## Step 5: All done!
Now your button should look like this: *Unsubscribe*
## Contact us if your need some help
If you encounter any issues or have questions about adding “unsubscribe” button, please don’t hesitate to [contact Inboxroad support](https://www.inboxroad.com/contact/) for assistance or mail us at [contact@inboxroad.com](mailto:contact@inboxroad.com). We’re here to help you every step of the way!