Menu
  • Features
    • Sending Services
      • SMTP relay Skip spam, reach inboxes
      • Email API Code-friendly email delivery
      • Dedicated IPs Scale with confidence
    • User intelligence
      • Campaign Statistics Know what works
      • User Engagement Insights that drive action
      • Personalisation Make emails personal
      • Domain Statistics Better decisions with data
      • Webhooks Keep your stack in sync
    • Email Campaigns
      • Email Builder Build with drag-and-drop
      • Contact Lists Manage your audience
      • Templates Design done for you
      • HTML Editor Code your perfect email
    • OTHER
      • Help Center All you need to know to get started
      • API-documentation Set up, tools and documentation
      • Integrations Connect with other tools
  • Pricing
  • Resources
    • Blog
    • Customer Stories
  • About us
  • Contact
Login Sign up

Introduction

  • Set up your account properly
  • How to verify your email address?
  • How to add a sending domain?
  • How to verify your sending domain

Integrations & Tools

  • Teamleader integration
  • Webhooks with Power Automate and Other No-Code Tools
  • Inboxroad Webhooks — A Simple Guide
  • Front-end integrations guide
  • EasySendy set up
  • Interspire setup
  • Ongage setup
  • MailWizz setup

Email deliverability

  • Improve your Hotmail delivery with SNDS
  • Google Workspace verification
  • Add “Unsubscribe” button
  • Yahoo feedback loop
  • Google Postmaster Tools
  • Warm-up schedule

List Management

  • Import Contacts

Sending Emails

  • Understanding Bounce Types
  • Personalisation with Smart Tags in Inboxroad Editors
  • Understanding How Replies and Bounces work with Inboxroad
  • Connect through API or SMTP?
  • Sending via SMTP
  • Add “Unsubscribe” button
  • Supported SMTP headers

FAQ

  • Account & Billing
  • Verification of sending domain
  • Deliverability issues
  • Integrations
  • Other
View Categories
  • Help Center
  • Interspire setup

Interspire setup

Connect Inboxroad to Interspire

InterSpire Email Marketing Software includes everything you need to create and send your email campaigns. By following these steps you can connect your Interspire’s account to Inboxroad. Make sure you have your Inboxroad setup document at hand.

To send and process your emails you need to configure a bounce and delivery server. We start by setting up the bounce server.

Step 1: Configuring a bounce server in Interspire

Bounce servers are actually regular email boxes that are used by Interspire in order to catch the returning emails and take proper actions. Without this, you will run into delivery issues.

By these steps we configure default bounce server it means if you do not configure any particular bounce server then Interspire uses this server as default bounce server.

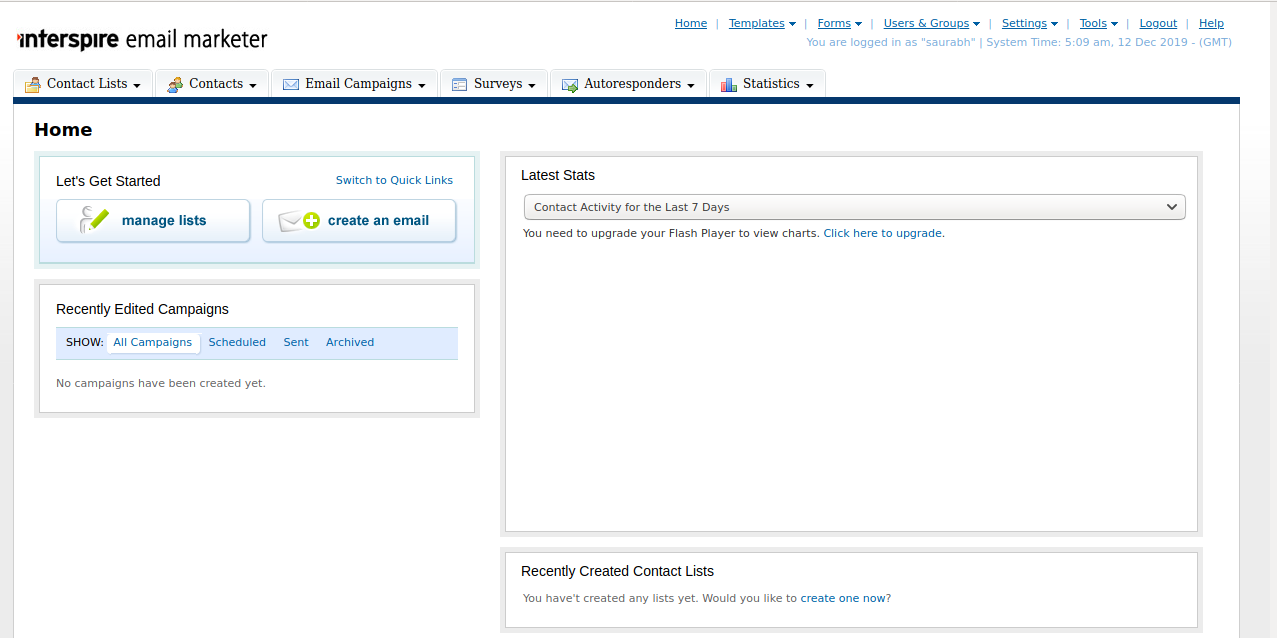
Login to Interspire with your username and password.

The first window is your Interspire dashboard.

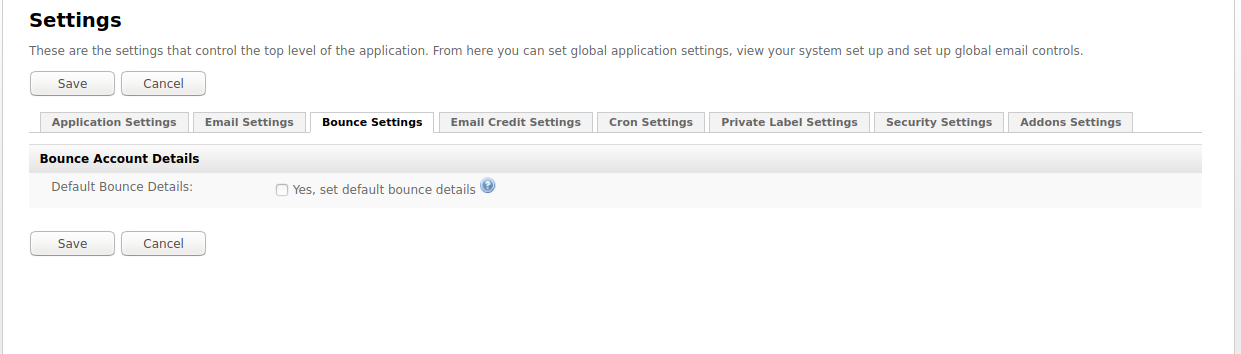
In the top menu bar under Settings hit Bounce Settings.

In the Bounce settings, the window shows an option “Yes, set default bounce details”
Select the following option.

It shows bounce server setting. Fill all the details:

Bounce address: example@yourdomain.com
Bounce Server: mail.example.com
Bounce Username: example@yourdomain.com
Type: POP3
Check AutoDetect
Click on “Test Bounce Settings”

In Interspire we can also associate a bounce server to the list. The steps are given below.
First, click on contact list. Under contact list dropdown click on create list.

In create contact list there is option Bounce Account Details. Click on “Yes I want to process bounced emails for this list” under bounce account details.

Fill all the details as shown below.

Click on “Test Bounce Settings” & Done:

Now your list uses this particular server for any campaign and not a default bounce server

Step 2: Configuring Inboxroad delivery server

For sending your campaigns you need to setup a delivery server. In top side menu bar under Settings click Email Settings.

Under Mail server details it shows 3 options. We are adding our SMTP details manually so select the second option “Let me specify my own SMTP server details”.

In this section fill all the details provided by Inboxroad document and click on “Test SMTP settings”
Fill all the details like:

SMTP Hostname: smtp.deliverabilitymanager.net

SMTP Username: Your username

SMTP Password: Your password

SMTP Port: 587

Interspire cross-checks the SMTP details provided by you and after checking the credentials you are now ready to send Email Campaigns.

Congratulations you are now connected to Inboxroad!

Updated on 1 September 2025

What are your Feelings

  • Happy
  • Normal
  • Sad

Share This Article :

  • Facebook
  • X
  • LinkedIn
  • Pinterest
Table of Contents
  • Connect Inboxroad to Interspire
    • Step 1: Configuring a bounce server in Interspire
    • Step 2: Configuring Inboxroad delivery server
inboxroad
EU GDPR COMPLIANT
CAN SPAM ACT COMPLIANT
Sending services
  • SMTP Relay
  • Email API
  • Dedicated IPs
Email design
  • Email builder
  • Contact lists
  • Templates
  • HTML Editor
User Intelligence
  • Campaign statistics
  • User engagement
  • Personalisation
  • Sending statistics
Inboxroad
  • Pricing
  • API docs
  • About us
  • Blog
  • Customer stories
  • All integrations
  • Book a demo
  • Help Center
  • Contact
Terms of service
© 2026 Inboxroad